Render your first cards
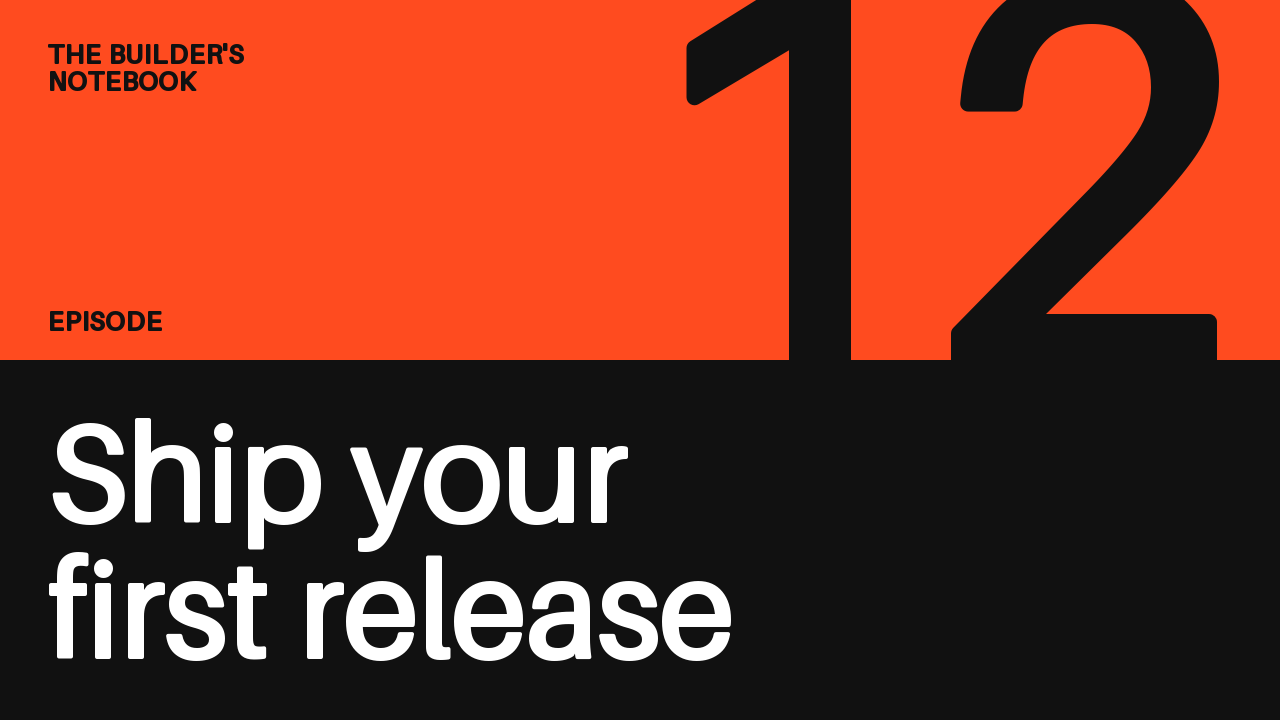
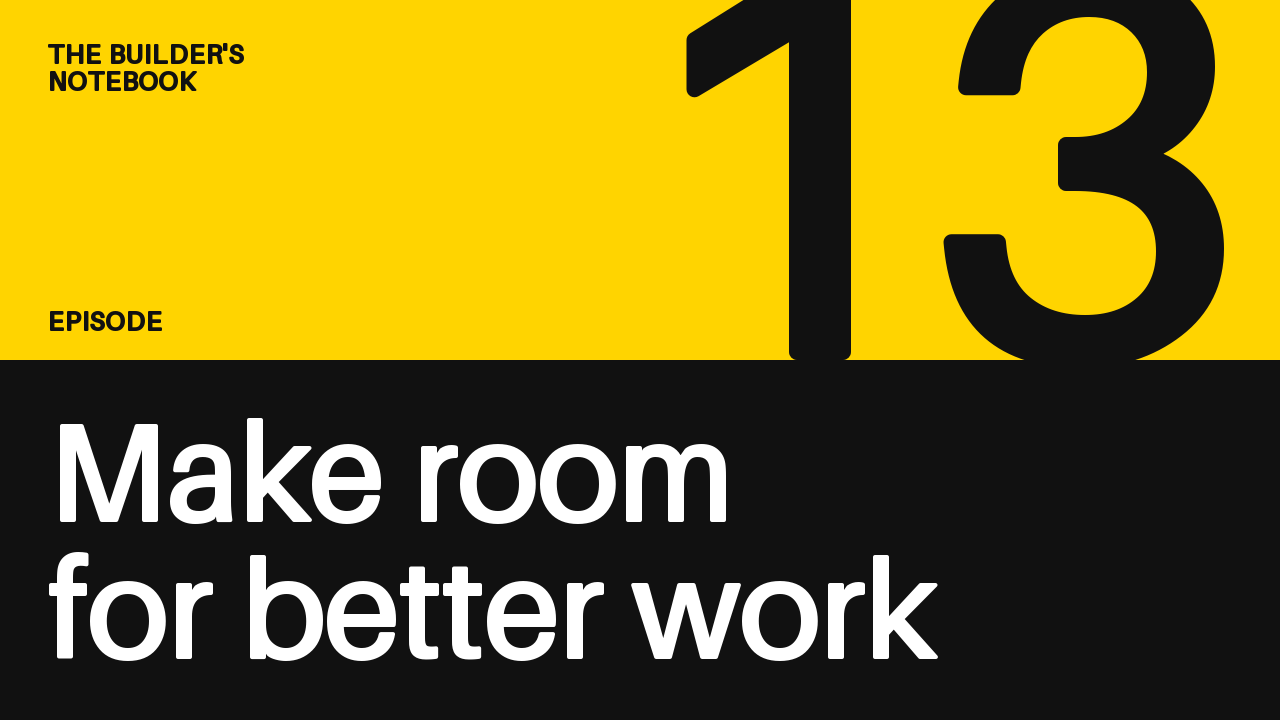
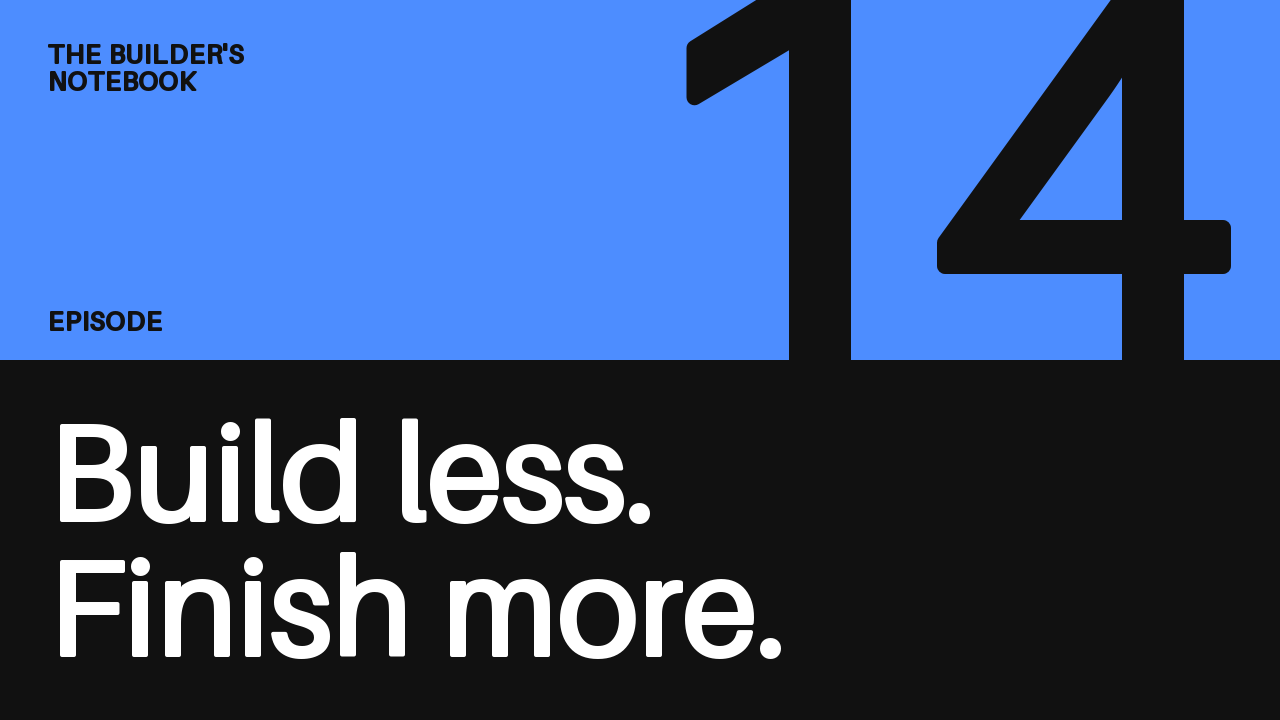
Build one episode-card layout and render it with three sets of content. Then change a title to make your own version.
1. Install quickthumb
You need Python 3.11 or later. In your Python environment:
If you need an environment first, follow Installation, then return here. The example uses only the base package and its built-in font: no font downloads, photos, or optional renderers are needed after installation.
2. Save and run the layout
Save this as episode_cards.py in your working directory, outside any quickthumb
checkout:
from quickthumb import Canvas, Stroke

INK = "#111111"
WHITE = "#FFFFFF"


def episode_card(episode, title, accent):
    return (
        Canvas(1280, 720)
        .background(color=INK)
        .shape("rectangle", position=(0, 0), width=1280, height=360, color=accent)
        # The numeral stands on the band and crops at the top edge.
        .text(
            str(episode),
            size=540,
            color=INK,
            # A stroke in the text color thickens the regular-weight built-in font.
            effects=[Stroke(width=8, color=INK)],
            position=(1240, 360),
            align=("right", "bottom"),
            letter_spacing=-10,
        )
        .text(
            "THE BUILDER'S\nNOTEBOOK",
            size=26,
            color=INK,
            effects=[Stroke(width=1, color=INK)],
            position=(48, 44),
            letter_spacing=1,
        )
        .text(
            "EPISODE",
            size=26,
            color=INK,
            effects=[Stroke(width=1, color=INK)],
            position=(48, 330),
            align=("left", "bottom"),
            letter_spacing=1,
        )
        .text(
            title,
            size=136,
            color=WHITE,
            effects=[Stroke(width=2, color=WHITE)],
            position=(48, 688),
            align=("left", "bottom"),
            max_width=1184,
            max_height=290,
            auto_scale=True,
            balance_lines=True,
            line_height=1.04,
        )
    )


episodes = [
    (12, "Ship your first release", "#FF4B1F"),
    (13, "Make room for better work", "#FFD400"),
    (14, "Build less. Finish more.", "#4D8DFF"),
]

for episode, title, accent in episodes:
    episode_card(episode, title, accent).render(f"episode-{episode}.png")
Run it from that directory:
Open episode-12.png, episode-13.png, and episode-14.png in the same directory.
Each is a 1280 × 720 image. The script writes to those filenames each time it runs,
replacing any existing files with those names.
3. Make the next card
Add another row to episodes, keeping the function unchanged:
Run the script again and open episode-15.png. You have reused the same layout
with a new episode number, title, and color.
The title wraps within max_width. auto_scale=True lets it shrink to fit the
specified width and height. Check your longest real titles before using the
layout for a batch.
Adapt the design
Inside episode_card(), change the colors, the numeral or title size, or the
positions once to update every card. Layers are drawn in the order you add them.
For your own typeface, add a local font path to each .text() call, such as
font="/path/to/your-font.ttf", and remove the Stroke effects if the font is
already heavy enough.
When expanding the layout, use canvas.diagnose() to check for common problems
such as off-canvas layers and low contrast. This layout reports one off-canvas
finding because the numeral is cropped on purpose. See
Diagnostics for checks and their limits; a clean report does
not establish that a design looks good.
Choose your next step
- Cookbook: adapt a thumbnail, social card, or podcast layout.
- Core Concepts: understand layers, effects, and positioning.
- Auto Layout: arrange changing content in rows and columns.
- JSON & AI Workflow: load and validate layouts as JSON.
- Choose an output format: create images, presentations, and animation.
- API Reference: look up a class or parameter.